THOUSANDS OF FREE BLOGGER TEMPLATES

Tuesday, December 13, 2011

time to play the elf

Well long time no write to dear friends!

I have sorely neglected you over the past month, and for that, I am sorry. It is not entirely my fault.
You see, I had major surgery. And, while I thought that would be a spur of creativity the way my bereavement / c section healing time away from work was in March, I was quite wrong. This surgery was a little more intense with a little more pain.
And, when I gave in and took THE painkillers, I was, well, quite brain dead. I tried to sew... but ended up removing more stitches than I made. I tried to make cookies, but they were pretty terrible.
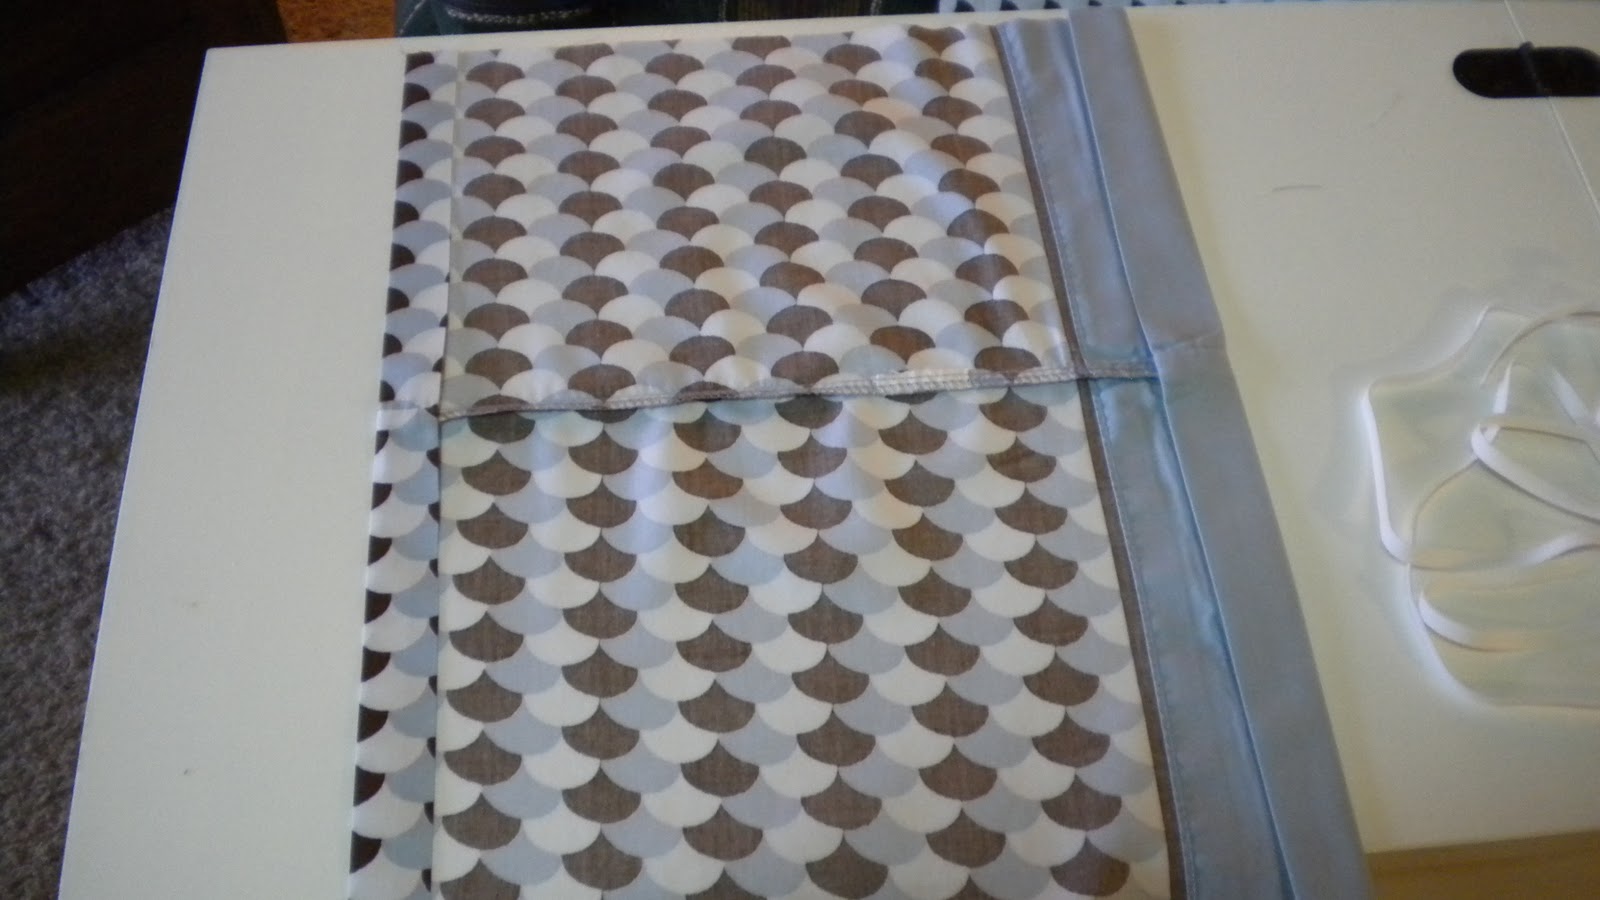
The inability to craft is even more unfortunate when you see this creativity sparking picture (taken from my cell phone, ha ha)

This is the view from my hospital room. Oh, how I love our beautiful beautiful state. I wanted to create but I was busy with my painkiller induced stupor, visitors and trying to... well just trying to be at that point.

But the other reason I have not had any projects to post is because... THEY ARE TOP SECRET! That's right folks... 'tis the season to not ask too many questions about creative pursuits.

I have been crafting. But as most of the crafting has been centered around gifts not to be opened until December 25, it is difficult to discuss.

One of my most favorite things, I can give you a brief preview. I have, after an afternoon in the craft store been embellishing letters as home decor. One is a gift for my mother in law's boss and another is a secret santa gift. Since I cannot show the whole gift and give away the recipient... I will give you the slightest glimpse.

Both came out just beautiful and I am very pleased. We have finished most of the gifts that need shipping so now it is on to the gifts that stay close to home, IE: 4 more parents, friends, white elephant gifts...

But its all in good fun and holiday spirit!!!

Craft on,
Lia

Saturday, November 12, 2011

My sew throne

Well friends, earlier this week I finished my sewing chair. After some sanding, multiple coats of stain and polyurethane (just realized I have no idea how to spell that word), a new foam pad, some new fabric, and finally putting it back together, it is ready to faithfully serve as the sewing chair for many more years.
I really enjoyed this project. I haven't stained wood before and it was a delightfully easy process. I did use a slightly different product, called "polyshades." It claimed to be a stain and urethane mix.
And, when you see the finished product, you will see that I got what I paid for. The chair is both stained and polyurethane coated even though I didn't go through the usually two step process.
But, the polyshade is a very sticky, oily mess that quickly hardens into a varnished mess. In trying to clean my brush, I stained up my laundry room sink (and had to scrub it with straight rubbing alcohol to clean it up), stained my hands (and they stayed sticky for a few hours too), and still didn't salvage the brush! Not to mention the satin finish is a little glossier than I wanted. I picked up this product for the color... and it didn't turn out as dark as I wanted.
But... this post is to say: the project is done. I am very happy with my result. I will now be sewing in significantly more comfort than any of my former sewing "chairs" could provide (like when I first got my sewing table and used our cooler with pillow on top!).

And it does look fabulous.

Now that the chair is done, I have quite the list of sewing to accomplish for my weekend.
I'm making fleece pajama pants. And then just prepping a few projects to take on my "vacation" (a 3-4 day stay in a post-operation recovery room)

But of course, I'll let you know how they go.
Keep on keep on crafting,
Lia

Sunday, November 6, 2011

No more bag lady

Today was the perfect crafting day. I had a nice little morning time spent with the hubby, the house had been tidied and the broncos game was proving to be worth watching for the husband.

So, I had a couple hours to get a quick project done that had been on my list for a while. A holder for our recycled grocery bags.

We always keep a few dozen grocery bags around the house for the various tasks where they prove useful. And lately, the bags were slowly taking over the cabinet under the kitchen sink. When I tidied under there a couple weeks ago and found mouse poop, I knew it was time for a more organized system.

So today, I built myself a little grocery bag holder / dispenser.

I started with a pillowcase I bought home from the thrift store months ago because I loved the pattern.

I cut out about a quarter from the open side, then pressed it.
I didn't measure at all (since I hate that), but I did go back after doing a rough cut and straighten all the edges. I guess its not technically, "neccessary" to start with straight edges since I was going to finish all of them. But, to be honest, I don't sew in a very straight line, so I like to start with a straight line for reference.

With that taken care of, I pressed a hem about an inch wide onto the top and bottom
My iron and some starch is one my favorite tools when working on a sewing project. It saves a lot of the put the pin in, take the pin out drama.
I sewed these hems along the very edge of the fold so that I had a nice casing for the elastic on the bottom and wire on the top.

Next, I sewed the two sides, right sides together. I started and ended this seam before the edge of the fabric so I could thread the elastic and wire through the casing I had created.
Another quick press to the new seam and then I turned it right side out.

The next step for this project was to install the wire to hold open the top to allow for easy bag disposal.

Of course the most accessible product for this was a wire hanger from the dry cleaner.
A pair of plyers and some wire snips later, and it was ready to go.
I threaded this into the top and then finished the seam to sew the sides together.
Then, I flipped it over and threaded a short piece of 1/4" wide elastic through the bottom. Again, I just finished the side seam.

A couple short seams to attach a hangar to the top (I used a fabric scrap from leftover from another project (it was about 2 1/2" by 12" and sewed into a tube finish the long edges)
and it was ready to fill and hang!!!!
So there you go. Another small project done for just a couple dollars!

Till the next project,
Lia
P.S. I put the final coat on my sewing chair today. Should be able to put it together and post a blog about it very soon!

Thursday, November 3, 2011

my latest 50 cent thrill

I love the thrift store. LOVE.

I realize this is no unique statement as the thrift store and flea market finds are so trendy right now that we have coined a new term, "upcycling."

But I love it there. I call it treasure hunting whenever I go. I sort through all the homewares and furniture... the dishes, and kitchen gadgets. I make up stories for what something is if its not clear. I imagine what things would look like with a can of spray paint and where I would put them in my dream home.

And sometimes, I find a treasure that will make our current home, mostly furnished and a temporary situation, even better.

So, when we were trolling our closest location of goodwill recently, I was incredibly excited to find this:

And, even better, a price of $.50! Once home, I pulled it out of the package, and set it up for a little paint. Would it have mattered if I painted it??
Not really, the shelf I was fitting it under has a lip, so you can't see any of this once installed. I painted, mostly for protection since the wood seemed pretty unsealed... and very dried out.
I went with the hammered black finish from some cabinet hardware I recently re-did. A couple of coats later, and it was ready for install.
So I took the shelf off our dining room armoire,
turned it upside down,
and used some screws from the garage to attach it.
I chose to go this way (glasses slide right to left) as opposed to front to back because it was a little more space efficient.
I put the shelf back in place and excitedly tried to load my stemware
And my dollar store wine glasses seem to have too chunky of a base for this model. (this is a risk with thrift store finds. Why did someone else throw out this seemingly practical thing?)
Back to the drawing board. I took the shelf back out, remove the screws and then... tore the backing board off. This seperated the "rungs" of the stemware holder from the wood piece they were glued to at the "perfect" spacing to hang your stemware.
I then went and screwed in each "rung" individually. And this is where the dried out wood started to give. I was able to keep it solid enough to feel comfortable hanging fragile glasses from it... but it wasn't very pretty.
So, for now, I opted to be thankful that its not visible when the shelf is in place and went with it. Eventually, I will take on this sort of project again but with a little more foresight. With the new spacing, I also lost one rung making this only fit 9 glasses instead of 12.
Fine for now. But I'm already planning the next rendition.

So then, I got to put my shelf all back together!
And after all that, it looks pretty good! Really loving the lip on the shelf now!!!

By the way, this armoire was FREE! I spent about $30 on paint and found the awesome hardware online for about $10 and I have to say, its a pretty stylish armoire for having once lived in a best western. (Maybe someday I will post on how to make best western furniture look like this...)

Well, go on now, find something crafty to do!
LIA

Tuesday, October 18, 2011

A little p-inspiration

I have discovered pinterest! Holy amazing wonderful place!!! I am so completely inspired to do all sorts of things.
For the past few weeks, I have been saving various pictures onto our hard drive of things I love and want to try. But to digitally create my own bulletin board with the pictures to remind me what I love AND the websites with directions, etc, how... how absolutely practical.

So, I've been poking around online, finding things to "pin"

I'm sure this won't be the last post on this newfound wonder. I will keep you up to date on what I find, how I recreate it, etc.

But for now, I am in the midst of a project. I am refinishing my sewing chair. The chair was repurposed from its place in our storage closet. And its so functional.

But now that my sewing table is SEW fabulous (ha, love puns):

The ole chair needs a bit of a makeover too
So, I have taken off the chair pad, added padding and new fabric and sanded down the chair to a raw finish.
I was originally thinking of staining the chair a dark dark brown finish. (Walnut it would be called, maybe?) But with the fabric on, there has been somce discussion around the house about painting the chair white insteead. I'm still stuck. What do you think?
New fabric:
Up against white paint:
up against a dark wood finish. I wouldn't go any lighter than this, maybe a bit darker...
I do see where white "matches" the fabric. But I don't want it to match. I want it to go together. And I suspect that with such a rich fabric (its kind of a velveteen finish) and an antique chair, a rich wood finish would "go" better. And I am not from the school all the furniture has to be the same finish to be in the room together.

So, I debate... with myself. And the chair sits unfinished in the garage. And I have taken a bit of a sewing hiatus with "nowhere" to sit. Oh... the tragedy ;)

Happy crafting!
Lia

Saturday, October 15, 2011

Welcome!


I put together this blog to follow my creative endeavors through life. 

From early on, I was crafting. My mom was one that always had some project for us from the Family Fun magazine and we glued, sculpted, glittered, painted, colored, and beaded our way through the hottest days of childhood in the Mojave desert.

Through high school, I scrap booked vacations, school breaks, and special trips. I learned to crochet, but only in circles so I made almost every I knew a beanie.

In college, we began having weekly crafting nights hosted in my dorm room. And I came to have quite the collection of supplies toted around in a large rubbermaid tub.

I got married, we moved around a bunch, had a collection of jobs, and I didn't put a lot of time into projects. In fact, as we approach celebrating our fourth wedding anniversary, our wedding album is still... unfinished. Hardly started would probably be a more accurate description.
At some point, the rubbermaid tub was given away to a girl scout troop as I found it to full of things I had moved seven times and never used.

When we moved back to Colorado after a brief relocation to California, we had no furniture and very little money. We rounded up various free things that family and friends were getting rid of. 

So, suddenly, we had an apartment full of mismatched, not so attractive furniture. 

And that creative spark was lit once again. I learned to paint over furniture laminate, I made throw pillows... And as I sewed for the first time in years and gradually made our small shady apartment feel like home, I remembered what fun I had creating.

I asked for (and received) a sewing machine for Christmas. I made a bed skirt. I started planning our daughter's nursery around things I could make. 

But the having a baby part didn't go so hot. And I was left recovering from a cesarean with no baby to care for. So, I crafted. I refinished a couple of furniture pieces. I sewed... and sewed and sewed. I started reading all sorts of craft and decor blogs. I watched a ton of the DIY network. 

Through it all, I now realize the importance crafting plays in my happiness. I love to find something and then make it into something else. Or just make it prettier. 

So, welcome to the newest slice of my world. A blog devoted to the practical, the pretty, and the pretty practical world of creation.