Today was the perfect crafting day. I had a nice little morning time spent with the hubby, the house had been tidied and the broncos game was proving to be worth watching for the husband.
So, I had a couple hours to get a quick project done that had been on my list for a while. A holder for our recycled grocery bags.
We always keep a few dozen grocery bags around the house for the various tasks where they prove useful. And lately, the bags were slowly taking over the cabinet under the kitchen sink. When I tidied under there a couple weeks ago and found mouse poop, I knew it was time for a more organized system.
So today, I built myself a little grocery bag holder / dispenser.
I started with a pillowcase I bought home from the thrift store months ago because I loved the pattern.


With that taken care of, I pressed a hem about an inch wide onto the top and bottom
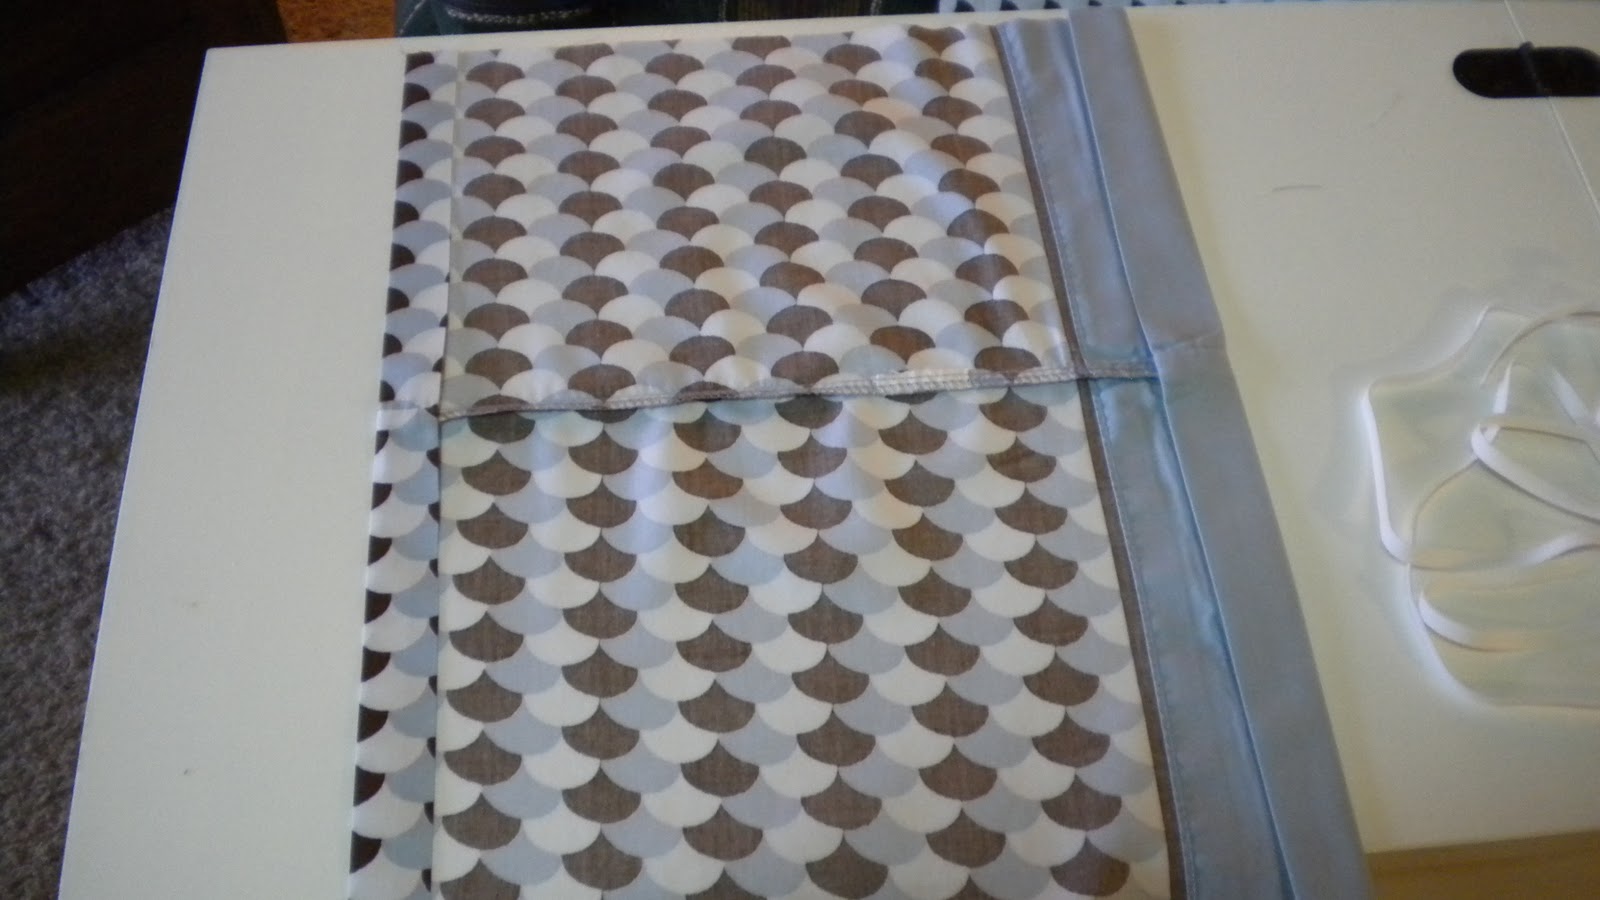
I sewed these hems along the very edge of the fold so that I had a nice casing for the elastic on the bottom and wire on the top.
Next, I sewed the two sides, right sides together. I started and ended this seam before the edge of the fabric so I could thread the elastic and wire through the casing I had created.
Another quick press to the new seam and then I turned it right side out.

The next step for this project was to install the wire to hold open the top to allow for easy bag disposal.
Of course the most accessible product for this was a wire hanger from the dry cleaner.


A couple short seams to attach a hangar to the top (I used a fabric scrap from leftover from another project (it was about 2 1/2" by 12" and sewed into a tube finish the long edges)


Till the next project,
Lia
P.S. I put the final coat on my sewing chair today. Should be able to put it together and post a blog about it very soon!

0 comments:
Post a Comment